Subject
- #Blink Example
- #Arduino IDE
- #Arduino
Created: 2024-06-11
Created: 2024-06-11 00:56
This post guides you through setting up the environment for Arduino programming and verifies a successful program download by utilizing an example provided by Arduino. The details are as follows:
Arduino Download Path -> Link
This explanation is based on Windows. There are three ways to install the Arduino IDE on Windows. While personal preferences may vary, I recommend the Installer method. While you can utilize other editors (e.g., Visual Studio Code, Sublime Text, Vim, Atom) for Arduino programming instead of the Arduino IDE later, installing using the Windows Installer makes the environment setup most convenient.
The installation process is straightforward and thus omitted.
Let's run the Blink example. The steps to run the Blink example are as follows:
1. Required Materials
2. Connecting Arduino Uno to PC
3. Launching Arduino IDE
4. Selecting Board and Port in Arduino IDE
5. Loading the Blink Example
6. Downloading the Blink Example to the Board
7. Verifying Execution
We will use the Arduino Uno board for this demonstration. Please refer to the following required materials.
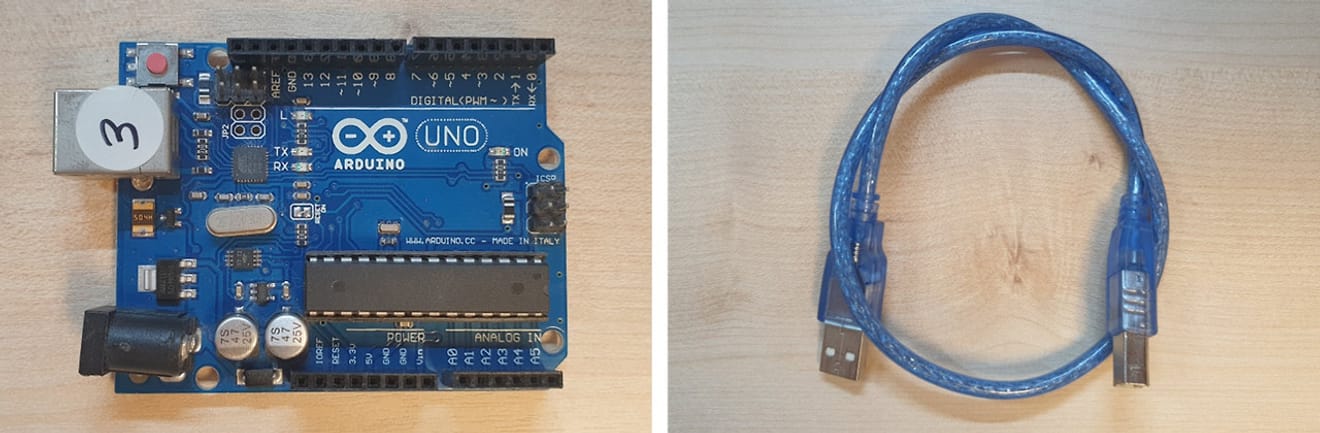
Arduino Uno, USB A/B Cable
Connect the prepared Arduino Uno to the PC using a USB A/B cable.
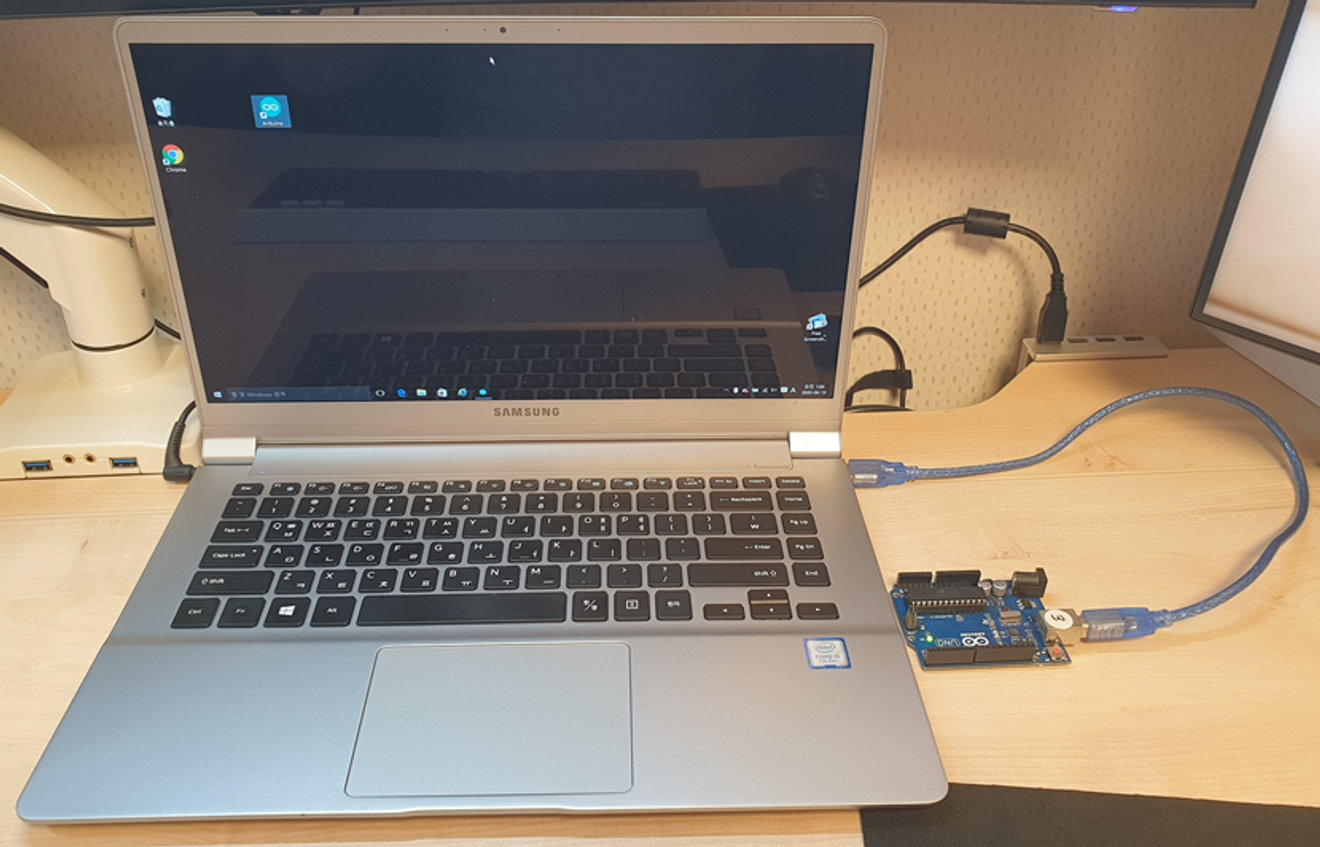
Arduino Uno Connected to PC
Once the Arduino installation is complete, launch the Arduino IDE. Typically, the Arduino shortcut icon below is created on the desktop during the installation process.
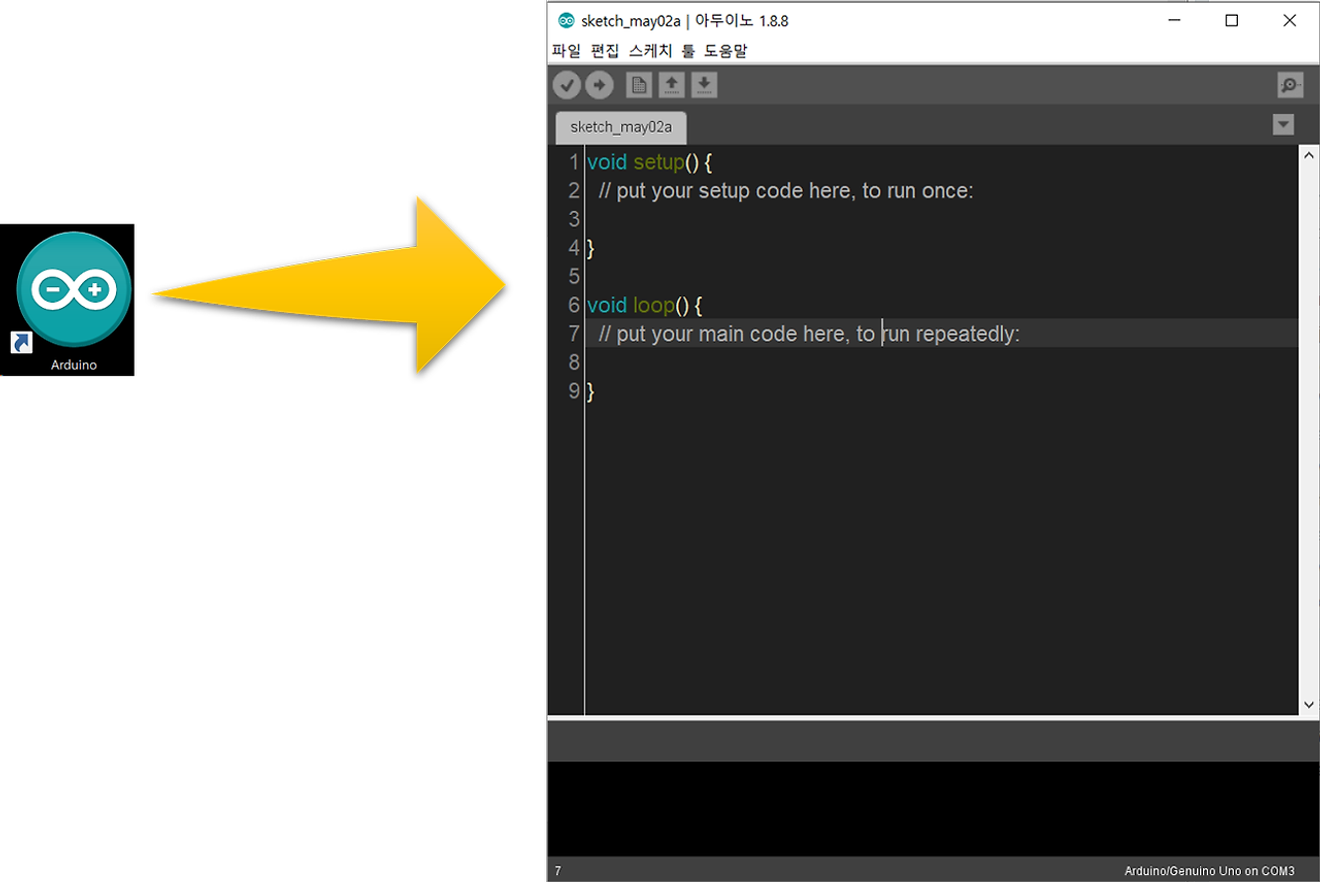
Arduino IDE Initial Screen
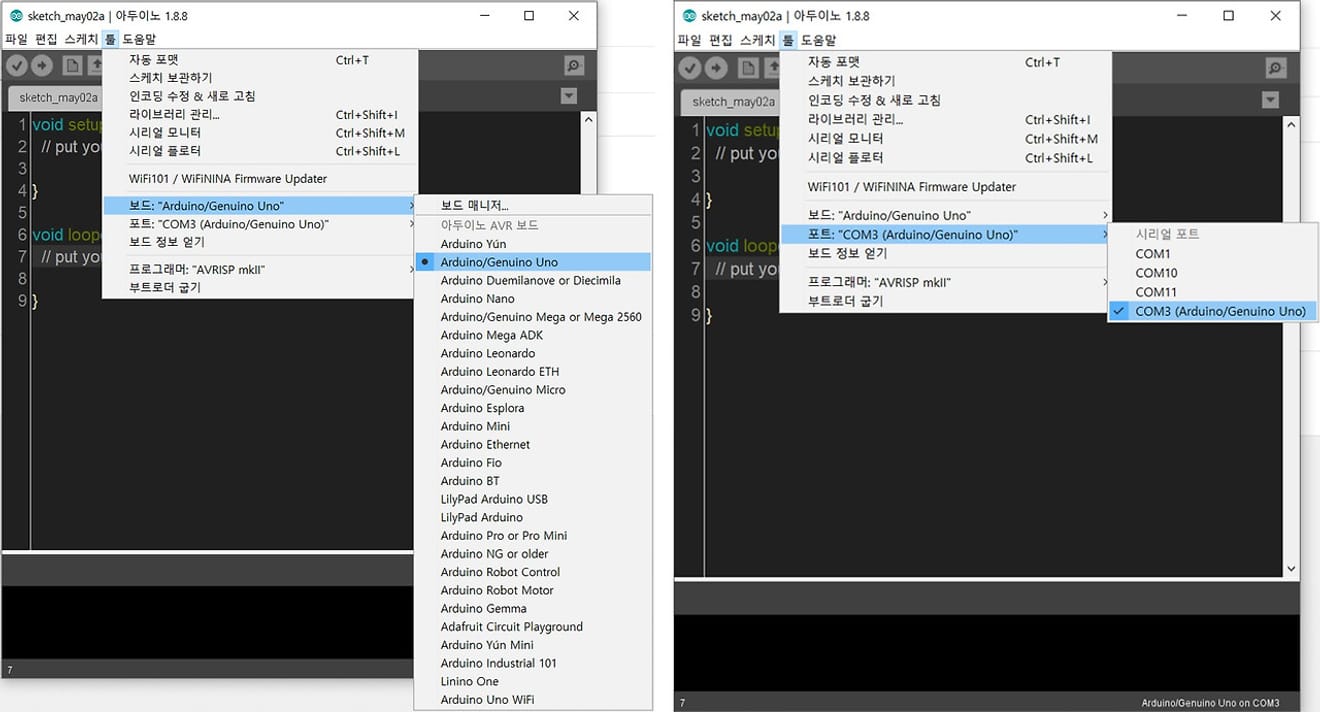
To download the program you write in the Arduino IDE to the board for execution, you need to configure the board and port settings. If you are testing with a board other than Arduino Uno, select the corresponding board.
Arduino Board and Port Settings
Arduino offers a variety of built-in examples. In addition to general examples, examples specific to the selected board are also categorized and provided. Here, we will load and run the Blink example to control the built-in LED on the Arduino Uno board, making it blink.
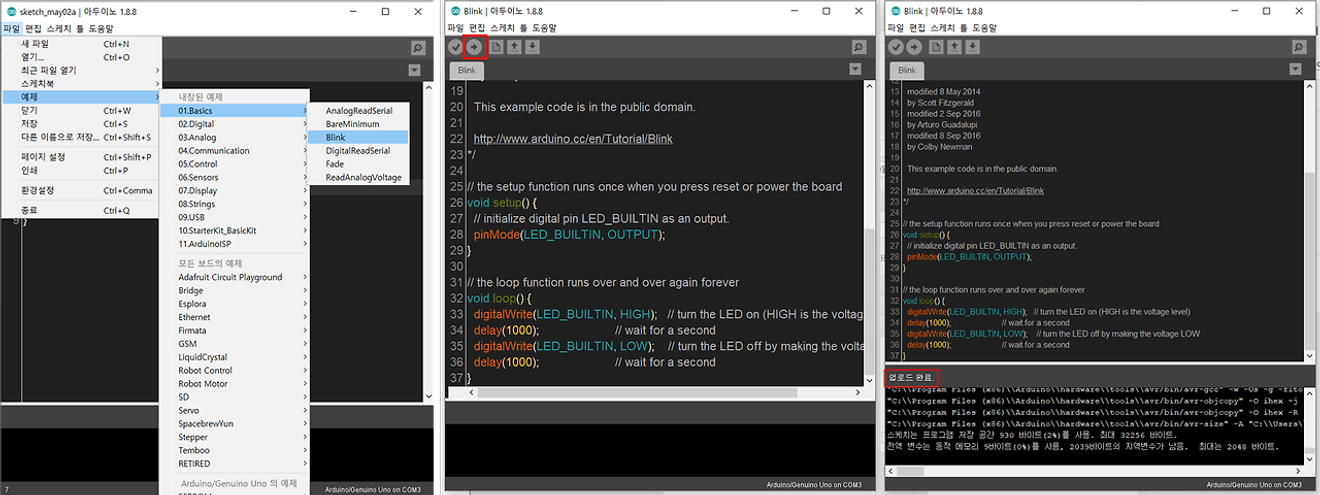
(Left) Loading Blink Example (Center) Example Screen and Upload Button (Right) Upload Confirmation
The Blink example makes the LED on the Arduino Uno board blink at 1-second intervals. If the upload is successful, you will see the board's LED blinking as shown below. This step verifies the Arduino programming environment configuration, and the code explanation will be provided in a future post.

Blink Example Execution Result
We have installed the Arduino IDE, loaded the Blink example provided by Arduino, and downloaded and executed the program on the Arduino Uno board. The next post will focus on setting up the Arduino IDE environment to enhance productivity before we delve into Arduino programming.
Thank you for reading!^^
November 17, 2024
May 27, 2024
January 16, 2025
May 14, 2024
February 5, 2024
June 5, 2024
Comments0